Germinating Cacao Seeds with Sphagnum Moss: A Pro Guide
When the days grow shorter and kitchens fill with the aroma of holiday chocolate, many growers turn their attention to germinating cacao seeds. If you’ve tried to start cacao before, you know how finicky these tropical seeds can be—especially after shipping. The good news: a simple, low-cost method using sphagnum moss can push your success rate close to perfect.
In this guide, you’ll learn why germinating cacao seeds is different from most garden seeds, how to set up a high-humidity environment with sphagnum for near-100% germination, and how to transplant without setback. We’ll also show how the same technique adapts to other prized tropicals like rambutan, durian, and mangosteen.
Key idea: For recalcitrant tropical seeds, moisture, warmth, and oxygen are everything. Sphagnum moss provides all three in a clean, controlled way.
Why Tropical Seeds Behave Differently
Cacao, rambutan, durian, and mangosteen seeds are “recalcitrant,” meaning they do not tolerate drying. Unlike tomato or pepper seeds that can be stored for years, these tropical seeds lose viability quickly when dehydrated and cold-stressed.
- They are delivered with high moisture and living tissue that must stay hydrated.
- Dry air, cool temperatures, and prolonged transit reduce germination quickly.
- Handling and sanitation matter more because there’s no hard, dry dormancy to protect the embryo.
For cacao specifically, fresh seeds sprout readily when kept warm (around 24–30°C / 75–86°F), evenly moist, and well-aerated. If you’ve struggled, it’s rarely the “seed quality” alone; it’s often uneven moisture, low temperature, or fungal pressure during those first 10–21 days.
Why Sphagnum Moss Works for Cacao
Sphagnum moss is a favorite among tropical seed propagators for good reasons:
- Moisture retention without waterlogging: The fibers hold water while leaving air pockets, reducing the risk of rot.
- Naturally clean and slightly acidic: That environment is less friendly to many pathogens.
- Easy to inspect: You can gently lift the moss to check progress and adjust moisture.
Compared to common seed-starting mixes, sphagnum is more forgiving when warm humidity is high. It stays fluffy, resists compaction, and provides the “even damp” cacao seeds crave.
Sustainability and alternatives
If you’re concerned about sustainability or availability, consider these alternatives with similar characteristics:
- Long-fiber sphagnum blends: Sphagnum mixed with coarse perlite or horticultural charcoal.
- Coco chips + fine coco coir: Add extra perlite for airflow and keep only lightly moist.
- Inert media (perlite/vermiculite) with a humidity dome: Works, but monitor carefully to avoid over-wetting.
Step-by-Step: Germinating Cacao Seeds
Follow this sequence for reliable, near-100% results.
1) Prep and sanitation
- Inspect and wash seeds gently in lukewarm water to remove pulp. Residual sugars invite mold.
- Optional: Quick dip seeds for 2–3 minutes in a mild 3% hydrogen peroxide solution (dilute 1:1 with water) and rinse. This helps reduce surface microbes without harsh chemicals.
- Do not let seeds dry out during handling. Keep them wrapped in a barely damp paper towel while you prep the moss.
2) Prepare the sphagnum
- Rehydrate long-fiber sphagnum with warm water, then squeeze to “just damp.” If you squeeze hard and water streams out, it’s too wet.
- Create a 2–3 cm (about 1 inch) bed of moss in a ventilated container: shallow tray with a loose lid, a plastic clamshell with pinholes, or a zipper bag left slightly open.
- For batch germination, organize seeds in rows so you can monitor each one.
3) Planting depth and orientation
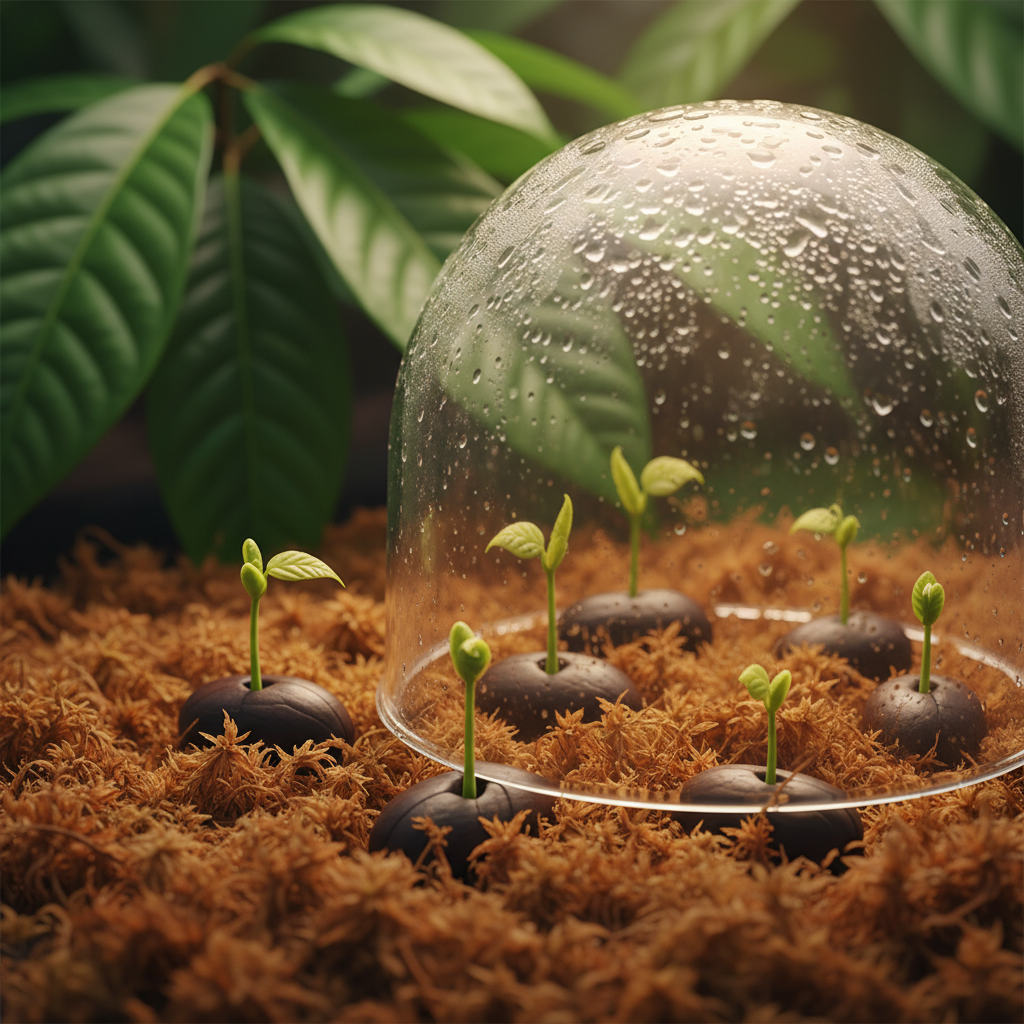
- Nest each seed halfway into the moss, not fully buried. The goal is contact and humidity, not darkness.
- Orientation isn’t critical, but placing the flatter side down often helps stabilize the seed.
- Mist lightly if the moss feels dry on top; avoid saturating.
4) Temperature, light, and airflow
- Temperature: 24–30°C (75–86°F) is ideal. Use a heat mat with a thermostat if your room is cool.
- Light: Germination doesn’t require strong light, but diffuse light helps you spot issues early.
- Airflow: Crack the lid or open vents daily to exchange air. This prevents stale, humid pockets where mold thrives.
5) Monitoring and timelines
- Expect root emergence (radicle) within 7–21 days, often sooner with fresh seed and stable warmth.
- If condensation runs down the walls, air out the container for 20–30 minutes and blot excess moisture from the lid.
- Remove any seed that turns mushy or smells sour—this prevents one failure from affecting others.
6) Troubleshooting during germination
- Mold on moss surface: Increase airflow; mist with fresh water only (no fertilizers). Replace a small patch of moss if needed.
- Seeds swelling but not rooting: Raise temperature by 2–3°C and confirm moss is damp, not wet.
- Damping-off in early sprouts: Reduce moisture slightly and add a few pieces of horticultural charcoal to the moss to buffer.
Transplanting and Aftercare
Transplant once the radicle is 2–4 cm (1–1.5 in) or when you see the first sign of the shoot breaking the seed coat.
1) Potting mix and containers
- Use a well-aerated mix: 40% high-quality potting mix, 30% fine orchid bark or coco chips, 20% perlite, 10% compost or worm castings.
- Start in a 0.5–1 liter (4–5 inch) pot to avoid overwatering in oversized containers.
- Make a pilot hole; transfer the seedling with minimal root disturbance. Do not peel off the seed coat forcibly.
2) Water, light, and humidity
- Water to settle the mix, then let the top 1–2 cm dry slightly before the next watering.
- Provide bright, indirect light; avoid hot midday sun on young leaves.
- Keep humidity 60–80% for the first few weeks. A simple clear cover can help, but vent daily.
3) Nutrition and growth
- Hold off on fertilizer until you see a well-formed first true leaf. Then feed lightly with a balanced, dilute liquid fertilizer every 2–3 weeks.
- Cacao appreciates consistent warmth. Temperatures below 18°C (65°F) slow growth and increase stress.
4) Hardening and long-term care
- Gradually increase light intensity over 2–3 weeks to avoid leaf scorch.
- Keep roots evenly moist and oxygenated. If growth stalls, inspect for compaction and repot into a looser mix.
Using This Method for Rambutan, Durian, Mangosteen
The sphagnum technique scales well across other recalcitrant tropicals with a few tweaks.
Rambutan (Nephelium lappaceum)
- Viability: Very short; plant as soon as possible after eating the fruit.
- Method: Same sphagnum approach, very warm (26–30°C / 79–86°F).
- Tip: Seeds often split quickly; transplant promptly once the root extends 2–3 cm.
Durian (Durio spp.)
- Seed size: Large; give more space between seeds to avoid tangling roots.
- Temperature: Warm (25–30°C) and steady. Avoid chills below 20°C (68°F).
- Tip: Because seeds are big, ensure moss contact on all sides without compressing.
Mangosteen (Garcinia mangostana)
- Patience required: Slow germinator and slow grower.
- Moisture: Likes consistently damp, slightly acidic conditions—sphagnum excels here.
- Tip: Transplant gently into a very airy, moisture-retentive mix; maintain higher humidity longer than cacao.
Common Mistakes and Quick Fixes
- Letting seeds dry out: Keep them wrapped in a barely damp paper towel during prep. Never leave them on a dry counter.
- Over-wet moss: If water drips when squeezed, it’s too wet. Squeeze to just-damp and increase airflow.
- Cool rooms: Germination stalls below the mid-70s°F. Use a heat mat with a thermostat.
- No sanitation step: A brief peroxide rinse reduces early losses in high humidity.
- Burying seeds too deep: Contact, not burial. Half-nest seeds so they get air.
- Transplanting too late: Move them once the root is established but before it twists into the moss.
In summary, germinating cacao seeds successfully comes down to freshness, warmth, and a medium that balances moisture with air. Sphagnum moss provides a consistent, forgiving environment that makes germinating cacao seeds—and other recalcitrant tropicals—dramatically more reliable.
Ready to start? Request our free Tropical Seed Germination Checklist and substrate recipe to follow this process step by step. What tropical fruit will you germinate first this season—cacao, rambutan, durian, or mangosteen?