Guava Seedlings: From Seed to Fruit in 5 Years
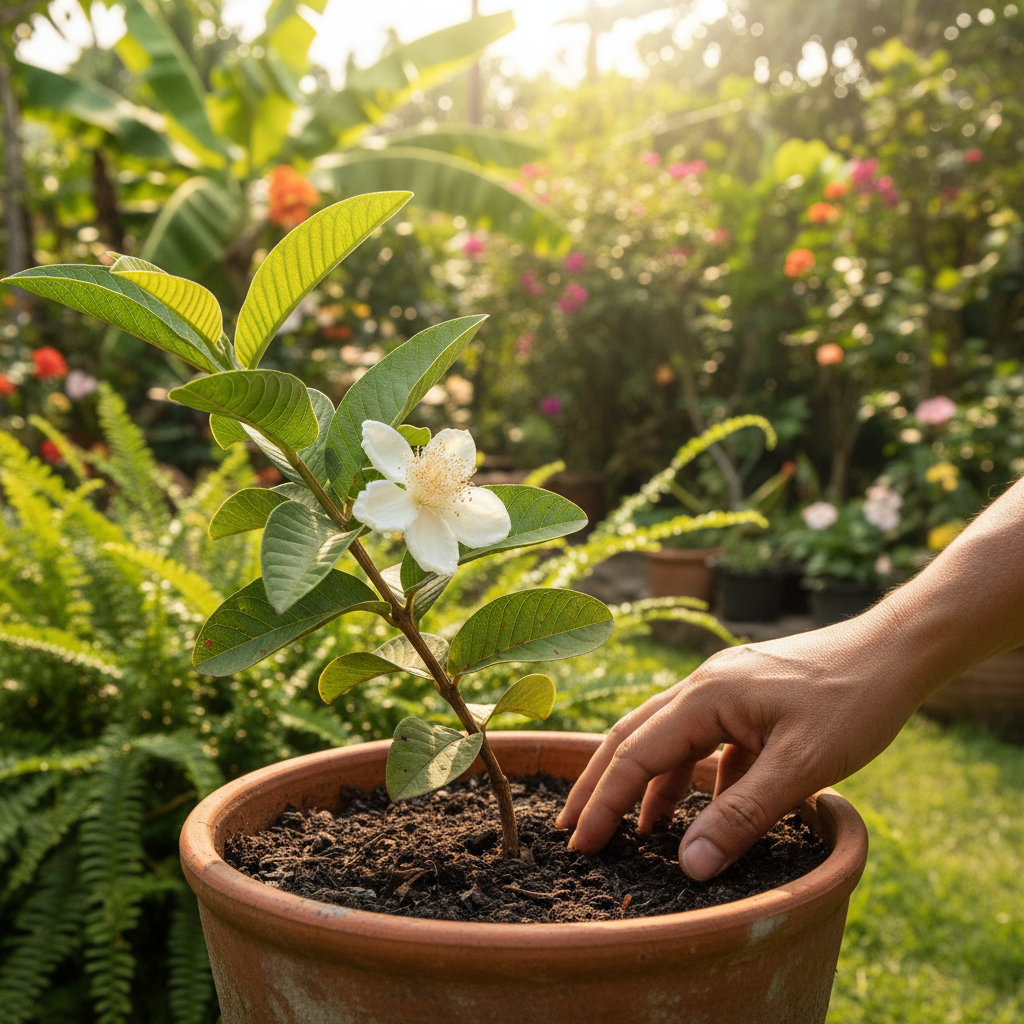
A single white blossom on a young guava can feel like a holiday gift after years of careful tending. If you’ve ever wondered how long a guava seedling takes to bear, the short answer is often about five years—and with the right plan, those years can be productive and rewarding. This guide distills what works so you can turn a guava seedling into a fruiting tree on a predictable timeline.
“That is awesome! Pretty flower. How old are they?” — “Thanks! 5 years.”
As we head into late November, it’s a perfect time to map your tropical fruit goals for the year ahead. Whether you’re growing indoors under lights, overwintering a container tree, or planning a spring planting, you’ll learn how to set up your guava seedling for strong growth, timely blooms, and a first harvest.
In this post, you’ll discover why guava seedlings take time to mature, how to start them the right way, a year-by-year care plan, pruning and bloom-boosting strategies, and climate-smart choices for containers or in-ground growing. If your goal is fruit in about five years, this roadmap will get you there.
Why Guava Seedlings Take ~5 Years to Fruit
Guava (Psidium guajava) grown from seed typically needs several seasons to transition from the juvenile phase to a fruiting adult. That juvenile period is a natural stage when the plant prioritizes root and canopy building over reproduction.
- Genetics: Seedlings are genetically diverse. Some flower in as little as three years; others take six or more. Selecting seeds from early-bearing, high-quality fruit can tilt odds in your favor.
- Environment: Light, heat, and nutrition shape how quickly a plant can build the carbohydrate reserves needed for flowering. Suboptimal light or recurring stress extends the juvenile window.
- Root volume: Guava wants room to run. Constricted roots delay flowering; staged up-potting or ample in-ground space keeps growth steady.
If speed is your only goal, grafted trees can fruit sooner. But for many growers, raising a guava from seed is part science, part art—and the flavor payoff is worth the patience.
Start Strong: Selecting Seeds and Germination
The first season sets your timeline. Fresh, well-chosen seed and warm, steady conditions can shave months off early growth.
Choose better seed
- Source from a vigorous, tasty, early-bearing parent fruit.
- Favor fully ripe fruit with strong aroma and deep color; under-ripe fruit produces lower-quality seed.
- Rinse seeds thoroughly and dry 24–48 hours before sowing or store cool and dry for short periods.
Prime for faster sprouting
- Scarify lightly by rubbing seeds between fine sandpaper, or soak in warm water for 12–24 hours to soften the seed coat.
- Target 75–85°F (24–29°C) soil temperature; bottom heat speeds germination.
- Use a sterile, airy mix (e.g., 60% fine potting mix, 20% perlite, 20% composted bark) to reduce damping-off.
Step-by-step sowing
- Fill seed trays or 3–4 inch pots with pre-moistened mix.
- Sow 1/4–1/2 inch deep and gently firm the surface.
- Cover with a humidity dome or plastic to maintain moisture; vent daily.
- Provide bright light (12–14 hours) and avoid cold drafts.
- Expect germination in 3–8 weeks; transplant when seedlings have 2–3 sets of true leaves.
Tip for late fall: Start seeds indoors now so you have sturdy transplants by spring. It’s an excellent winter project that sets you up for a strong growing season.
The 5-Year Care Plan: Soil, Water, Feeding, Climate
Think in seasons. Each year has a main objective—rooting, branching, sizing up, and finally, flowering and fruiting.
Year 0–1: Establish roots and structure
- Light: Full sun is ideal; indoors, use bright south windows plus grow lights for 12–14 hours/day.
- Water: Keep evenly moist but never waterlogged. Allow the top inch to dry slightly between waterings.
- Soil: Well-drained, slightly acidic to neutral (pH 5.5–7.0). Mix in organic matter and perlite for drainage.
- Feeding: Light, regular nutrition. Use a balanced fertilizer at 1/2 strength every 2–4 weeks during active growth.
Year 2–3: Build canopy and trunk diameter
- Pot size: Step up as roots fill the container (e.g., 1–3–7–15 gallons). Avoid jumping too big too soon.
- Sun + heat: Aim for 6–8+ hours of direct sun and warm days (70–90°F / 21–32°C).
- Nutrition: Increase feeding frequency in warm months; incorporate slow-release organic matter plus occasional liquid feed.
- Training: Begin shape pruning (see section below). Encourage strong scaffolds and good airflow.
Year 4–5: Prepare for bloom and fruit set
- Fertility shift: Transition from nitrogen-heavy growth to bloom support. Emphasize potassium and phosphorus while maintaining micronutrients.
- Water discipline: Consistent moisture during bud formation and flowering; brief, mild dry periods can sometimes stimulate flowering in warm seasons, but avoid stress.
- Sunlight: Maximize sun exposure. Thin dense interior shoots to let light reach developing buds.
- Protection: Prevent stress from cold snaps, wind, or pests, which can abort buds.
Seasonal care checklist
- Late fall/winter (now): Bring containers indoors before frost. Add supplemental light and reduce watering as growth slows. Maintain 40–60% humidity.
- Spring: Resume feeding and up-pot if roots are circling. Prune lightly to shape and remove winter dieback.
- Summer: Peak growth—feed, water deeply, and mulch to conserve moisture. Watch pests closely.
- Early fall: Ease nitrogen, support with potassium, and keep soil evenly moist as temperatures cool.
Pruning, Training, and Bloom Boosters
Pruning is your steering wheel. Done right, it accelerates canopy maturity and supports reliable flowering.
Form the frame
- Choose either a multi-stem bush or an open-center tree with 3–4 main scaffolds.
- Tip-prune leaders at 18–24 inches to stimulate lateral branching.
- Maintain an open middle for airflow and light penetration.
Annual rhythm
- Structural pruning: Late winter or very early spring, before vigorous growth resumes.
- Maintenance pinching: Throughout the growing season, lightly tip vigorous shoots to encourage side branches where future flowers form.
- Avoid heavy pruning right before or during flowering; you could remove the very wood that carries blooms.
Nutritional nudges for flowering
- Potassium-forward feeding in pre-bloom periods supports bud formation and fruit quality.
- Micronutrients matter: Iron, manganese, zinc, and boron—in tiny, label-appropriate amounts—help avoid hidden deficiencies that limit bloom.
- Organic supplements like seaweed extracts can improve stress tolerance; use as part of a balanced program, not a replacement for core nutrition.
Containers vs. Ground + Troubleshooting
Whether you’re in a frost-prone climate or a tropical zone, you can dial in an approach that fits your space and weather.
Containers: Control and mobility
- Pot progression: 1–3–7–15–25 gallons over the first 4–5 years, as root mass expands.
- Mix: Fast-draining container blend with coarse components (perlite/pine bark) to prevent soggy roots.
- Root care: If growth slows, check for circling roots and consider root pruning when repotting.
- Overwintering: Before frost, move indoors to bright light. Expect slower winter growth; reduce water and feed lightly.
In-ground planting: Space and stability
- Site: Full sun, with wind protection. Plant on a slight mound if soil drains slowly.
- Mulch: 2–4 inches of organic mulch to moderate temperature and retain moisture, keeping it a few inches from the trunk.
- Cold protection: Use frost cloth or temporary covers for light freezes; guava can be damaged below freezing.
Common problems and fixes
- Slow growth: Often light-related. Increase sun or supplement with grow lights; verify pH and relieve rootbound conditions.
- Yellowing leaves: Could be overwatering, poor drainage, or iron/manganese deficiency. Adjust watering and consider a chelated micronutrient drench.
- Bud drop/no blooms: Excess nitrogen, insufficient light, or stress. Shift to balanced or bloom-supporting feed, improve light, stabilize moisture.
Pests and diseases
- Sap-suckers (aphids, scale, mealybugs, whiteflies): Manage with horticultural oils or insecticidal soaps, applied thoroughly to leaf undersides. Encourage beneficial insects and rinse with water jets.
- Fruit pests: In some regions, bag maturing fruit to prevent infestation. Harvest promptly when fragrant and slightly soft.
- Fungal issues (anthracnose, leaf spot): Improve airflow by thinning dense growth; remove diseased tissue. Use preventive organic fungicides where allowed, especially in humid seasons.
Your First Harvest: What to Expect
By year five—often sooner in ideal conditions—your guava seedling should offer its first real taste of success. Flowers are typically white and fragrant; fruit follows in 4–6 months, depending on variety and heat.
- Ripeness cues: Strong aroma, slight give to the skin, and color shift depending on type (green to yellow, or pinkish hues).
- Flavor profile: From tropical candy-sweet to pleasantly tart, often with edible seeds. Try fresh slices, smoothies, chutney, jam, or a festive holiday sorbet.
- Post-harvest: Handle gently and refrigerate if not eating immediately; ripe guava is delicate.
Bring It All Together
A guava seedling can go from first sprout to first flower in about five years with consistent light, warm temperatures, attentive watering, balanced nutrition, and smart pruning. Stay patient, keep your plan seasonal, and celebrate each milestone—new leaves in winter, branching in spring, and those first buds of late summer.
Ready to map your path from seed to fruit? Request a personalized 5-Year Guava Plan—soil mix, pot sizes, feeding calendar, and pruning checkpoints tailored to your climate. Start today so next season moves you one step closer to your first blossom.
One last question to guide your next action: Will your guava spend this winter under lights or in the sunniest window you have? Decide now, and set your seedling up for a strong spring.